Concrete Block Molds
Hollow Block Mold
Solid Block Mold
Solid Brick Mold
Interlocking Block Mold
Thermal Block Mold
Author:HAWEN Block Mould Manufacturer TIME:2026-10-12
Regular maintenance helps preserve mold geometry, support reliable demolding, and identify wear before it affects production. This guide covers concrete block, paver, curbstone, and special-shape molds with bolted or quick-change mounting systems.
Follow the mold drawings and the machine manufacturer's maintenance instructions. Inspection intervals should reflect operating hours, aggregate abrasiveness, product geometry, and previous wear records.
Remove concrete residue before it hardens, paying attention to cavity walls, cores, tamper shoes, corners, and mounting surfaces. Buildup can interfere with component movement and alter the finished product's appearance.
Use cleaning tools and methods approved for the mold. Avoid striking precision surfaces, forcing tools into clearances, or using aggressive chemicals without supplier approval.
If wet cleaning is permitted, protect electrical components and dry the mold afterward. Never clean inside the machine while it is running.
Stop the machine and follow the site's lockout/tagout procedure before accessing the mold area. Control stored energy and mechanically secure raised components using approved supports.
Do not rely on hydraulic pressure alone to hold a raised tamper head or other component. Use designated lifting points whenever mold components need to be removed.
Check cavity walls, cores, tamper shoes, and edges for wear, cracks, scoring, deformation, and concrete buildup. Investigate fresh contact marks that may indicate misalignment.
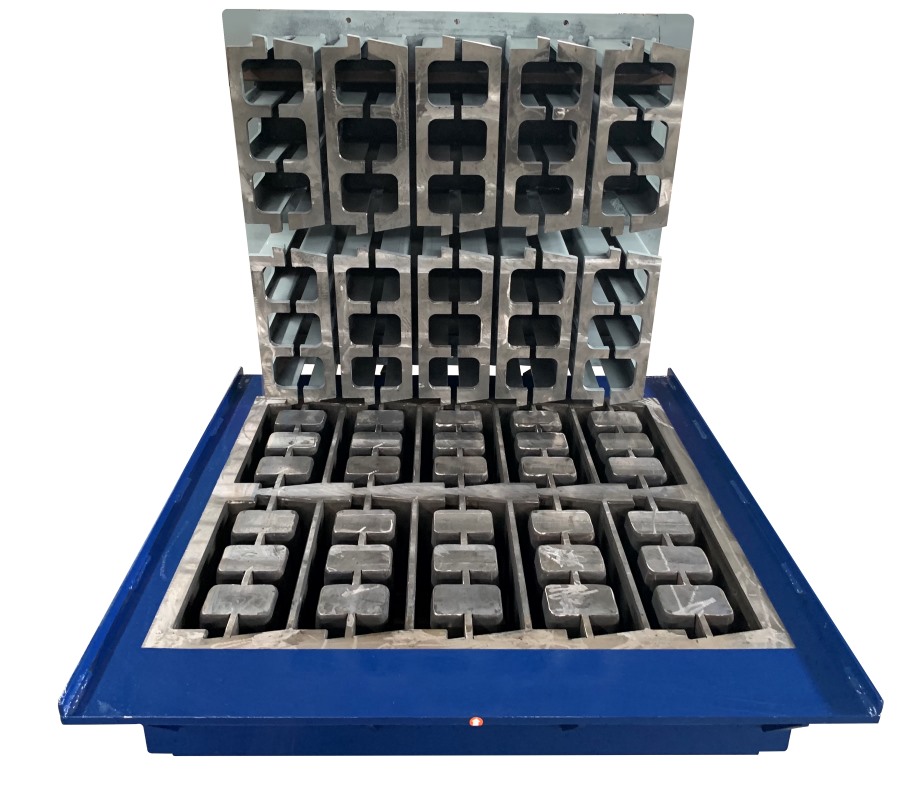
Focus on the features that define each product. Hollow block cores determine internal cavities and wall sections; paver profiles determine shape and fit; curbstone molds reproduce larger cross-sectional details.
For interlocking and retaining wall blocks, inspect connection features carefully. Small changes in these areas can affect how finished units fit together.
Measure mold-to-tamper clearances and critical forming dimensions at the locations specified on the approved drawings. Compare results with the installation baseline and the supplier's allowable wear limits.
Check several positions to identify uneven wear. A measurement from one cavity or one side does not represent the condition of the complete mold.
Do not treat the specified clearance for a new mold as its automatic replacement limit. Obtain the applicable service limits from the supplier, and record measurements so that wear can be tracked over time.
Inspect bolts, washers, mounting faces, and locating features for damage, looseness, and signs of movement. Check fasteners using the manufacturer's specified method, tightening sequence, torque, and thread condition.
Do not compensate for repeated loosening by applying extra torque. Investigate seating, alignment, hardware condition, and the machine's mounting arrangement.
Keep locating and clamping surfaces free of concrete and debris. Inspect clamps, guides, locking components, sensors, and any transfer equipment according to the machine instructions.
Verify the required locked-state indications and investigate incomplete engagement or repeated clamping alarms. Check hydraulic or pneumatic connections where fitted, following the prescribed isolation procedure before servicing them.
Lubricate guides, bearings, pivots, and other designated moving parts with the products and quantities specified by the equipment supplier.
Do not apply grease or oil indiscriminately to cavities, tamper shoes, or block-forming surfaces. Use a release agent only where approved for the mold and production process.
Remove excess lubricant and accumulated dust around lubrication points. Contaminated lubricant can carry abrasive material into moving components.
For molds with core pullers or movable forming parts, inspect movement, guides, stops, connections, and the specified operating sequence. Investigate sticking or incomplete travel before continuing production.
For heated tamper shoes, inspect accessible cables, connectors, and temperature-control components according to the supplier's instructions. Electrical servicing must be performed by qualified personnel after isolation and cooling.
Do not override interlocks or increase actuator force to overcome an unresolved mechanical obstruction.
Keep mold inspection records alongside production observations. Changes in block dimensions, damaged edges, surface marks, or difficult demolding can help identify where to inspect.
Compare products from different cavity positions. A recurring defect in one location may help narrow the investigation, but material consistency, pallet condition, feeding, and machine settings should also be checked.
Avoid repeatedly changing production settings to compensate for mechanical wear. Establish the cause before choosing an adjustment or repair.
Stop production and obtain technical assessment if cracks, loose components, significant deformation, or unintended metal-to-metal contact are found.
Replace wear components according to the approved mold design. Do not assume that individual cores, shoes, or plates can be exchanged between different matched mold sets.
Grinding, welding, or reheating hardened components can change geometry and material properties. Carry out these repairs only under an approved procedure, followed by dimensional and alignment checks.
Clean and dry the mold before storage. Apply suitable corrosion protection where specified, and identify any coating that must be removed before the next installation.
Store the mold on stable supports in a dry, protected area. Keep the mold box and matched tamper head clearly identified, and protect forming surfaces, cores, cables, and connections from handling damage.
Before returning a stored mold to service, inspect its condition and repeat the required installation checks.
Maintain a record of mold identification, production cycles where available, inspections, clearance measurements, repairs, and component replacements. Use these records to plan maintenance around actual condition rather than a cycle count alone.
When requesting technical support, provide the mold identification, machine model, photographs, measured dimensions, and examples of affected products. Clear records help the supplier distinguish wear, alignment, and process-related issues.
Contact HAWEN with the mould identification, machine details and inspection records for technical support.


 Tel: +8618359454595
 Email: sale@hwmachines.com
 MP/WhatsApp: +8618359454595
 Manufacturer Address:Nanan, Quanzhou City, Fujian Province, China