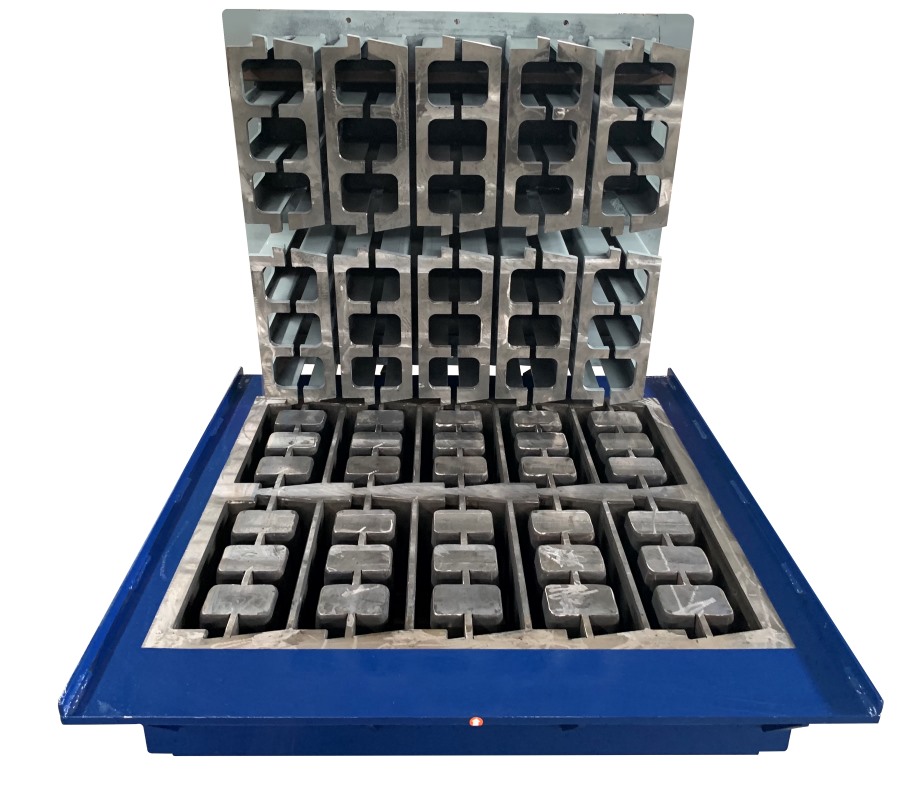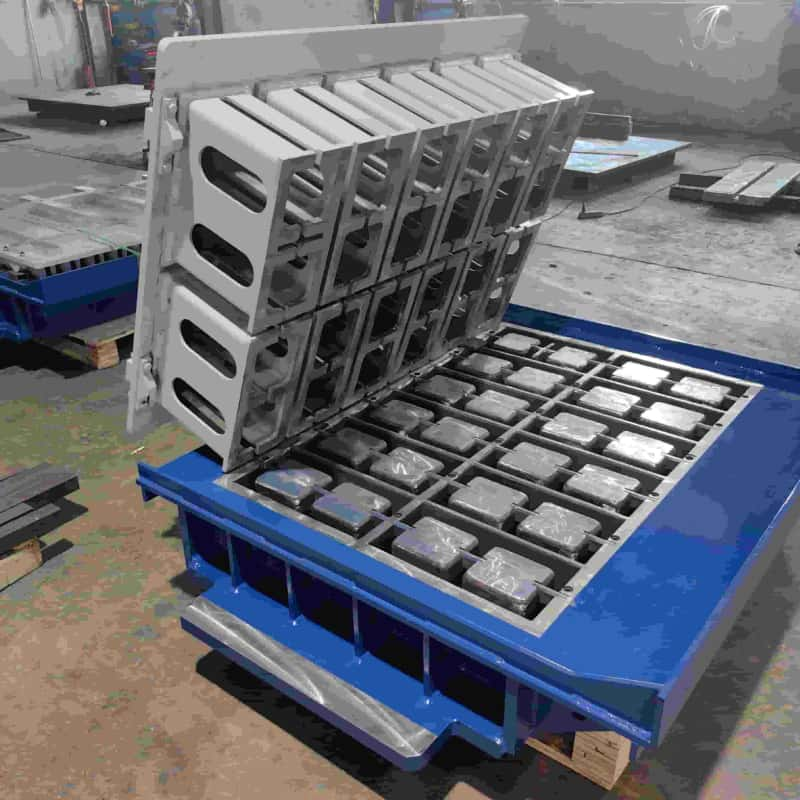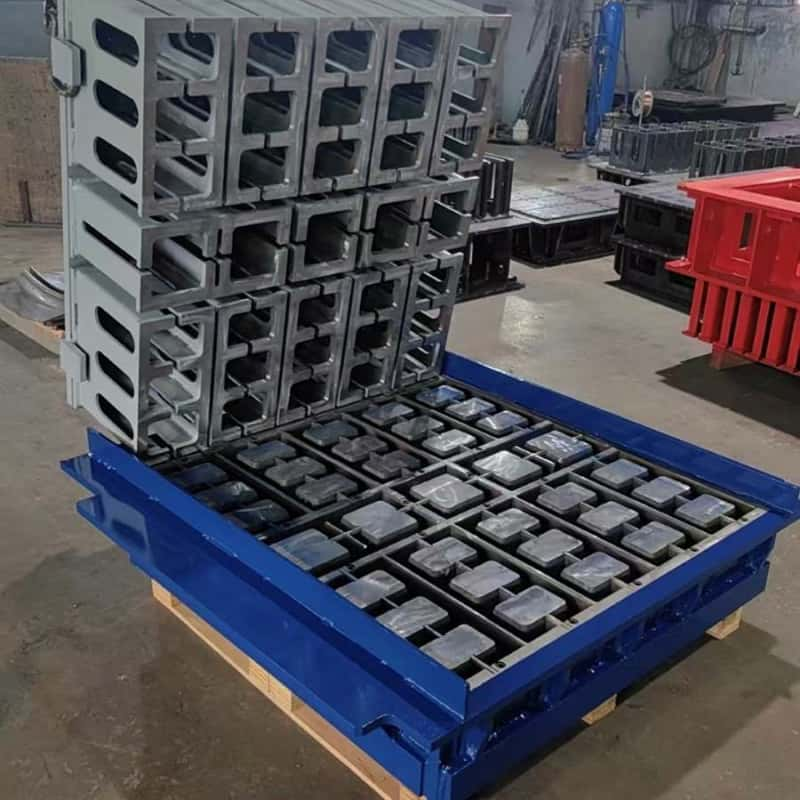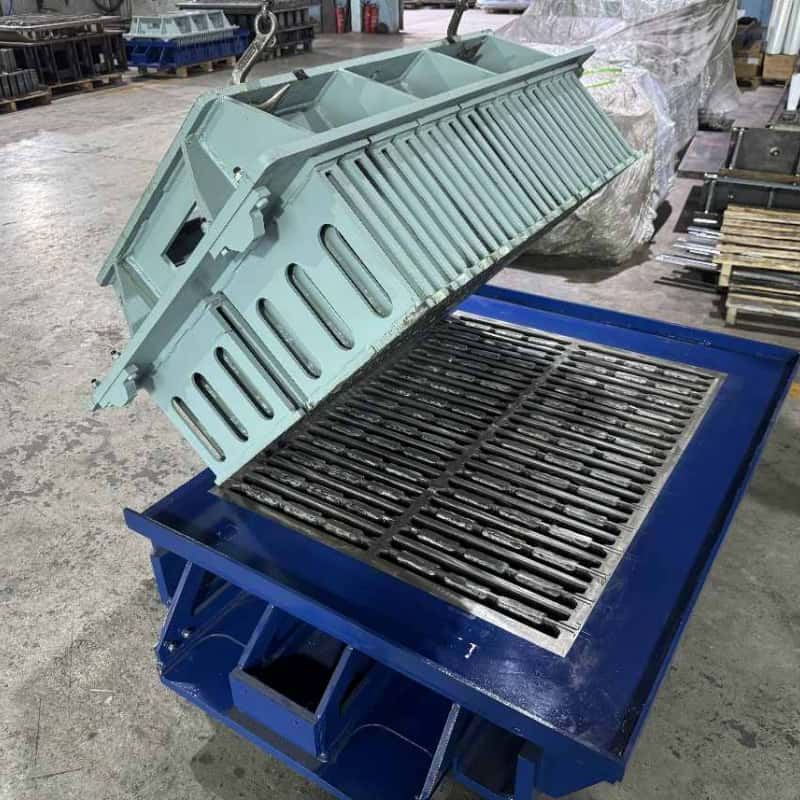
Concrete Block Molds
Hollow Block Mold
Solid Block Mold
Solid Brick Mold
Interlocking Block Mold
Thermal Block Mold
Author:HAWEN Block Mould Manufacturer TIME:2026-10-12
This guide applies to concrete block molds secured through bolted mounting connections. Follow the approved mold drawings and the machine manufacturer's installation procedure for the actual equipment.
Check the mold identification, finished-product specification, and machine model before installation. Confirm that the mold box and tamper head are the correct matched set.
Review the mounting dimensions, locating features, mold height, and pallet requirements. Prepare the specified bolts, washers, and other mounting hardware, together with the required tightening instructions.
Installation must be performed by trained personnel. Follow the site's lockout/tagout procedure, control stored energy, and mechanically support raised components using approved devices.
Prepare lifting equipment suitable for the verified mold weight. Use designated lifting points and keep the lifting route clear.
Support each component before releasing its mounting bolts. Follow the machine manufacturer's removal sequence for the tamper head and mold box.
Confirm that all fasteners and any auxiliary connections have been released before lifting. Move the components to a stable support that protects the forming surfaces.
Inspect removed mounting hardware and replace damaged or unsuitable parts according to the equipment requirements.
Remove concrete buildup, debris, and packing material from the mounting faces, locating features, and support surfaces.
Inspect the new mold for damage and check the condition of its mounting holes and contact faces. Remove protective coatings where specified by the supplier.
Do not grind locating surfaces, enlarge mounting holes, or modify the mold without an approved technical instruction.
Install the components in the sequence specified for the machine. Use the approved lifting and locating method to bring each component into position.
Fit the mounting hardware as instructed. Where the procedure calls for initial loose assembly, retain the necessary adjustment until alignment has been completed.
Do not use bolts to pull an incorrectly seated component into position.
Check the mold box, cores, and tamper shoes against the drawing's alignment and clearance requirements. Take measurements at the specified locations.
Once alignment is accepted, tighten the fasteners in the required sequence using the specified torque and thread condition. There is no universal tightening torque for all molds or machines.
Recheck alignment after tightening, since securing the connections can affect the final position. Record tightening results where required by the plant's procedure.
Confirm pallet seating, mold height, tamper travel, and demolding positions. Restore guards, remove tools and lifting attachments, and clear personnel before re-energizing.
Carry out the manufacturer's permitted setup movements. Stop if there is unexpected contact, movement, or noise. Isolate the equipment again before making adjustments.
Produce trial units using approved starting settings. Check dimensions, filling consistency, edges, and demolding across the pallet before releasing the mold for routine production.
Record the mold identification, installation date, approved settings, and inspection results.
Complete any initial-service fastener checks required by the machine manufacturer. Rechecking or retightening must follow the prescribed method with the equipment safely isolated.
Contact HAWEN with the mould identification, machine details and inspection records for technical support.


 Tel: +8618359454595
 Email: sale@hwmachines.com
 MP/WhatsApp: +8618359454595
 Manufacturer Address:Nanan, Quanzhou City, Fujian Province, China