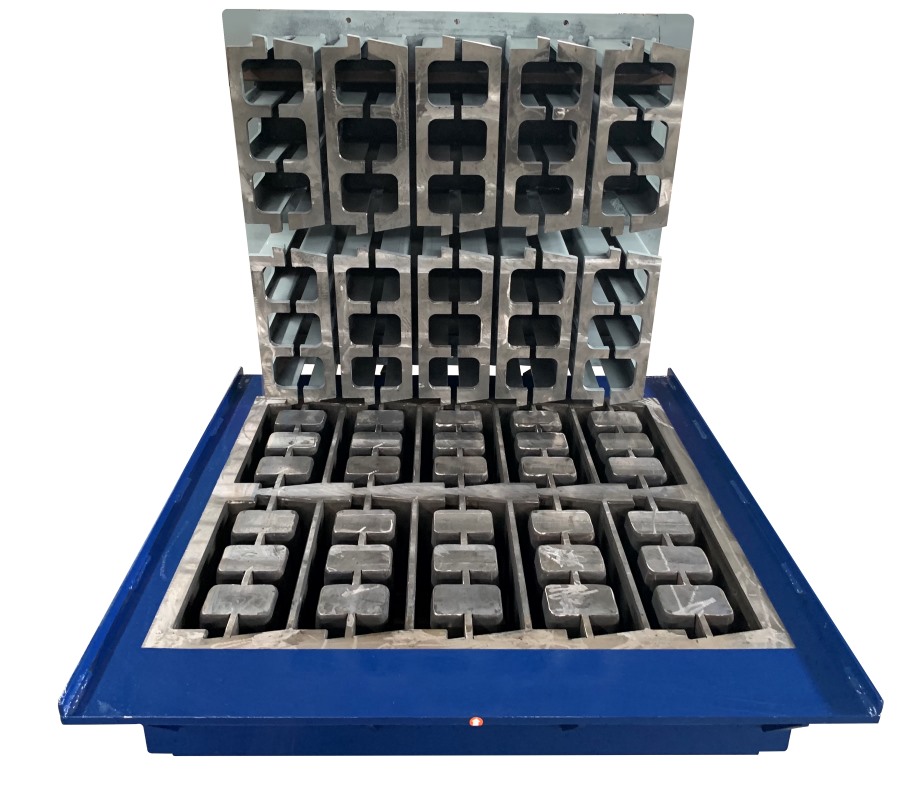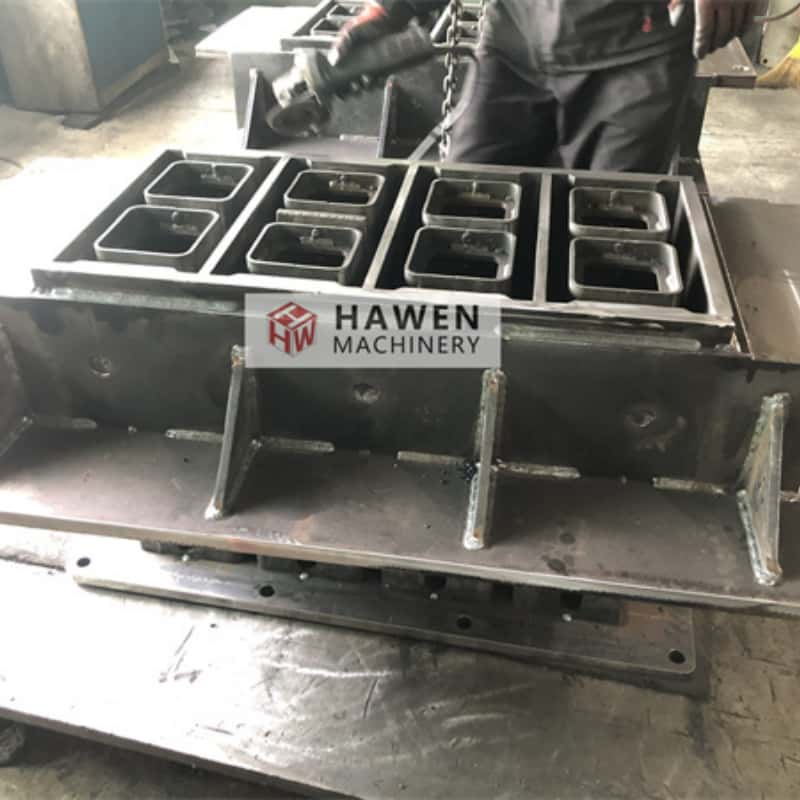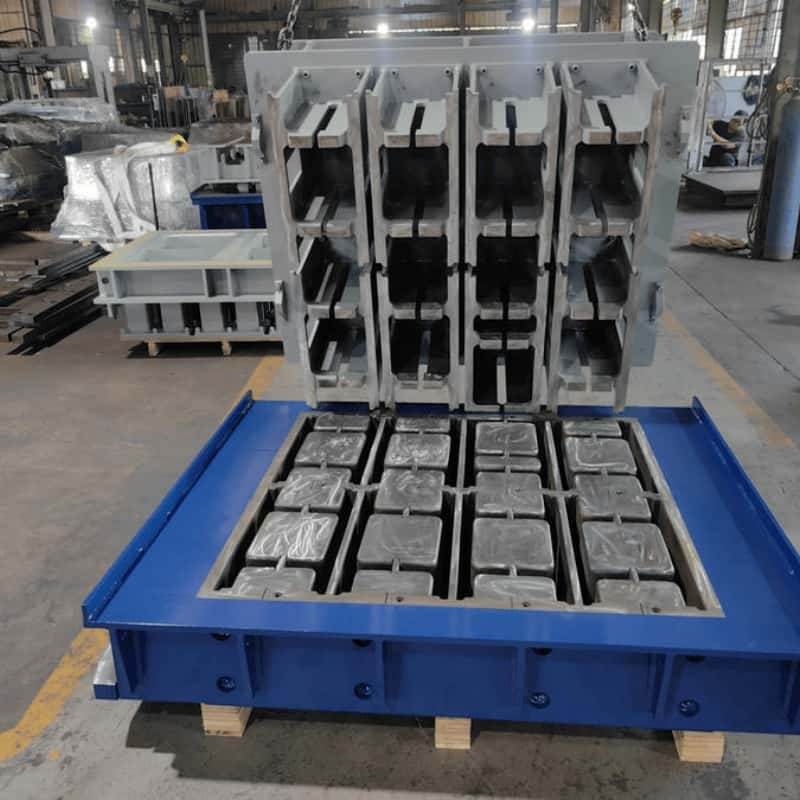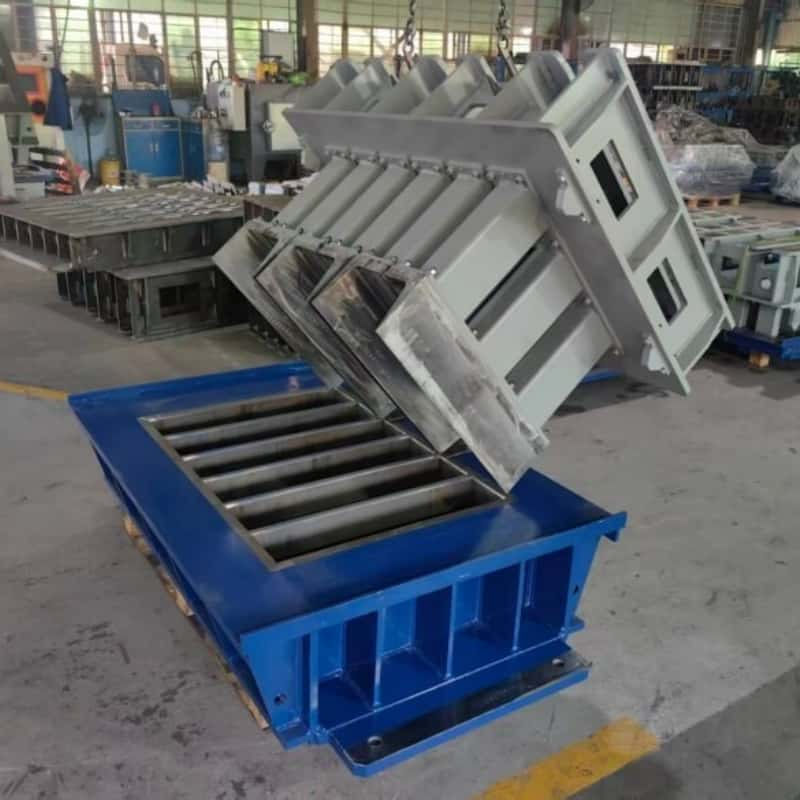
Concrete Block Molds
Hollow Block Mold
Solid Block Mold
Solid Brick Mold
Interlocking Block Mold
Thermal Block Mold
Author:HAWEN Block Mould Manufacturer TIME:2026-10-12
This guide applies to molds installed using a machine's dedicated quick-change system. Such systems may use mechanical, hydraulic, or pneumatic clamping and may incorporate a mold cart or transfer mechanism.
Follow the procedure for the actual machine configuration. Some systems automate only part of the exchange, so the mold box and tamper head may require different mounting steps.
Check that the new mold is designed for the specific machine and quick-change arrangement. Confirm the locating features, clamping interfaces, installation height, and matched tamper head.
Where auxiliary connections are required, verify their type and position. Similar overall mold dimensions do not establish compatibility with a quick-change system.
Inspect the mold's locating and clamping surfaces for damage, wear, and concrete buildup. Clean them according to the supplier's instructions.
If a cart, roller bed, or transfer device is used, check its condition, load rating, alignment, and securing arrangements. Position the mold using designated lifting points.
Confirm that the mold is stable on the exchange equipment before releasing any lifting support.
Only trained personnel should operate the exchange system. Follow the manufacturer's sequence for placing the machine in its designated mold-change position and mode.
Powered exchange movements must be performed with the specified safeguards active and personnel outside the hazard area. Mold-change mode does not replace lockout/tagout when manual access, cleaning, or adjustment requires isolation.
Do not bypass guards, sensors, or interlocks to complete the exchange.
Confirm that the mold components are supported by the designated mechanism before releasing their clamps.
Operate the release sequence and verify the specified unclamped condition before transferring the mold. Disconnect auxiliary services only at the stage and under the isolation conditions prescribed by the manufacturer.
Do not move a component that remains partly clamped. A release command alone is not proof that the mechanism has fully disengaged.
Move the new mold into position using the approved exchange method. Keep the transfer path clear and observe from the designated operating position.
Confirm that the locating features engage and that the mold reaches its specified seated position. Do not use clamping force to overcome incorrect positioning or trapped debris.
Install and locate the tamper head according to its own mounting procedure, particularly where its attachment differs from the mold box.
Activate the clamping sequence and complete the manufacturer's required confirmation checks. These may include mechanical indicators, position feedback, or other system-specific checks.
For fluid-powered systems, pressure alone does not establish correct seating or full engagement. Verify the required locked condition for every relevant component.
If any confirmation is missing or inconsistent, stop and investigate. Do not start production with an unresolved clamping alarm or bypassed interlock.
Check the required relationship between the mold box, cores, and tamper shoes. Quick-change positioning does not eliminate the need for installation verification.
Select the correct product recipe and confirm mold height, travel limits, pallet requirements, and auxiliary-device sequences. Where automatic mold identification is fitted, verify that the identified mold matches the installed tooling.
Complete the permitted setup movements with guards in place and personnel clear.
Produce trial units and inspect dimensions, filling, edge condition, and demolding across the pallet. Release the mold for routine production after the required checks are accepted.
Record the mold identification, recipe, installation checks, and any exchange-system faults.
Maintain clamps, locating surfaces, sensors, and transfer components according to the manufacturer's schedule. Reliable quick changes depend on both compatible tooling and a correctly maintained exchange system.
Contact HAWEN with the mould identification, machine details and inspection records for technical support.


 Tel: +8618359454595
 Email: sale@hwmachines.com
 MP/WhatsApp: +8618359454595
 Manufacturer Address:Nanan, Quanzhou City, Fujian Province, China